
How To Edit A WordPress Theme
This one will be short and sweet and right to the point. Have a WordPress theme that you downloaded or bought and want to modify? It’s super easy.
WordPress themes are usually distributed as zip files, so unzip it. (It’s outside of the scope of this post to talk about GitHub, but I recommend making a private repository and unzipping the theme in there, so that you can track and save all your changes.) You should now have a directory with files inside that looks like this:

Now go in and make your edits. As I have in other posts, I’ll plug Visual Studio Code and Claude Code for this part; you can open the directory in VSCode and ask Claude to help you with all your changes.
At the top of style.css you’ll see a header with all of the metadata for the theme. Bump the version number. Choose whatever version bump strategy you like, since it’s really just for your benefit to track your changes.
Now you need to zip up the theme again. I wrote a simple shell script for this that ignores all of the git files. If you use this, replace some-theme with the name of your theme:
#!/bin/bash

rm -f some-theme.zip
zip -r some-theme.zip some-theme -x "*.git/*"Armed with your new zip file:
- In the WordPress UI, go to Appearance > Themes
- Click Add Theme
- Click Upload Theme
- Select the (new) zip file and click Install Now
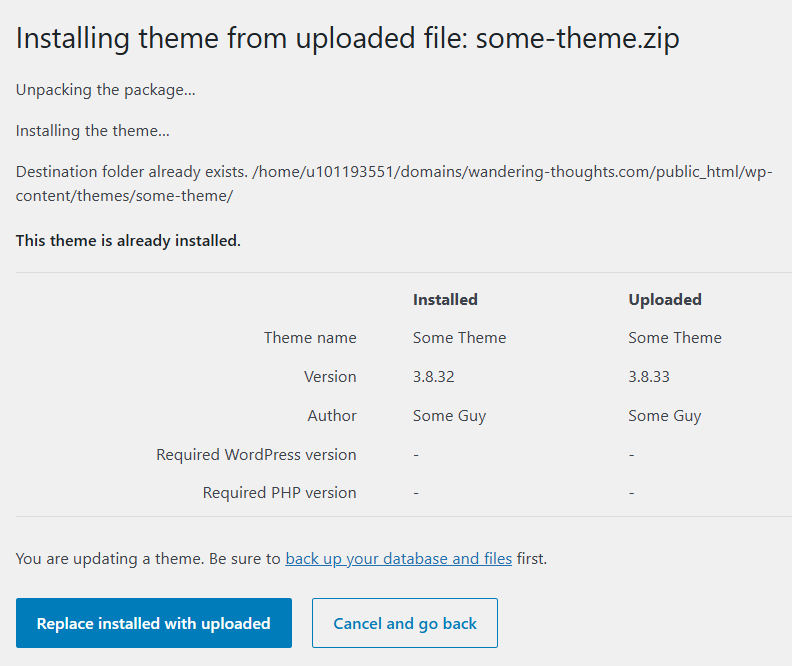
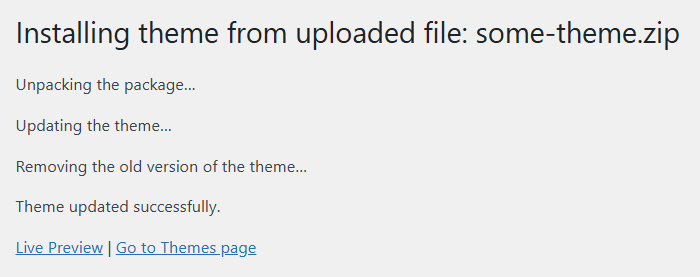
WordPress will warn you about overwriting a theme with the same name. Click Replace installed with uploaded and that’s it!
If you don’t see your changes right away, clear your cache or use the browser keyboard shortcut (e.g. Shift + F5 or Ctrl + Shift + R for Chrome).